


Intro
Looking back at early 2021, vaccination rollouts for COVID-19 were continuing to ramp up in Ontario at a very rapid pace, with no slowing in sight. As a Digital Health organization already in the fold, we were forced to pivot in order to quickly scale and meet the needs of our growing client roster. Here at Verto Health, we were already providing enhanced end-to-end vaccine appointment management solutions, including public-facing booking widgets we call “Engage”. As our client list seemed to exponentially increase, the unique instances of our Engage booking widgets followed.
Initially, we had only implemented a smaller number of widgets, with each one being highly customized and tailored for each client and their requirements. At the time, all pages of the widgets were defined in Angular and we were using a large configuration file that determined the behavior of specific buttons and open-question fields that popped up. Our developers had to use custom code to build each widget according to client spec and the configuration file continued to inflate. As our client list grew, we quickly realized that our development approach to the widgets was too time consuming and unnecessarily challenging. We needed a better solution and we needed it fast!
Problem #1: There are different page flows depending on client requirements
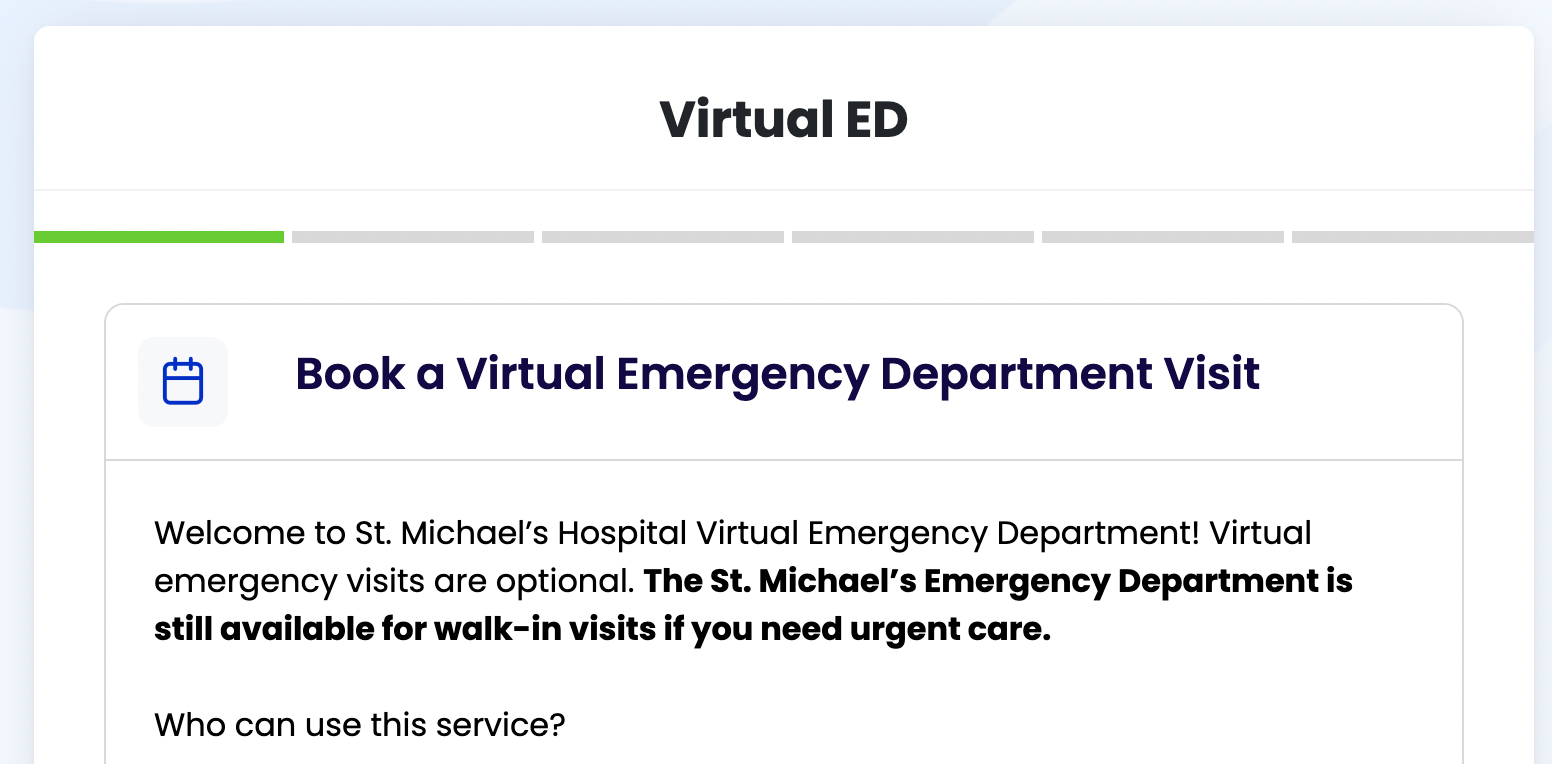
Our original Engage scheduling widget supports the following standard workflow. The end users answer questions regarding their eligibility, then they select a date and time, before filling in demographics and contact information. Finally, the user is taken to a confirmation page once they have booked their appointment.

However, it was clear when vaccination supplies were scarce, that this was not enough. Since we serve a range of clients such as hospitals, mass vaccination clinics, and public health units, there were clients that required more complicated logic - such as requiring their long term care staff to put in a password and fill in their staff number.

If we were to support this with our previous solution, we would need to create ‘if ’ statements linked with a configuration to determine transitions. This would be unscalable for more than 2 unique page flows. Therefore, we decided to create a new solution from scratch, while still utilizing our old components.
Solution: Frontend with Finite State Machines
In comes XState, which is a Javascript library that implements functionalities of a state machine. The finite state machine can be in only one state at a time and given some input, it is able to transition to another state and produce some output. From a web perspective, one state would map to one page, seen by the user. Transitions then, switch between pages, by a user clicking a "Next" button. Based on the above diagram, we can illustrate this through the following configuration:
{
  "landing_page": {
    "on": {
      "NEXT": {"target": "questions_page"}
    }
  }
}
Since we are using XState, we have an added benefit of being able to use the visualizer.

So, instead of the Next button directly linking to the next page, it would broadcast a “NEXT” action. Then, what this transition does is dependent on the Engage configuration. Of course, the action broadcasted by the Next button is also defined in the Engage configuration:
{
  "type": "button",
  "props": {
    "className": "mah-secondary"
  },
  "disabled": false,
  "label": "Back",
  "click": {
    "type": "StandardLibrary.DispatchStateEvent",
    "args": [
      "NEXT"
    ]
  },
  "localizationKey": "select_date_page_button_3"
}
For the button component, we define a click action that would dispatch a ‘NEXT’ event to the state.
The diagram also contains states that are not concrete pages, such as the following example:
{
  "get_appointment_types": {
    "invoke": {
      "src": {
        "type": "getAppointmentTypes"
      }
    },
    "on": {
      "SUCCESS": {
        "target": "question_page",
        "actions": [
          "setAppointmentTypes"
        ]
      }
    }
  }
}
As soon as we enter this state, we run the getAppointmentTypes function, which would make an API call to the backend to retrieve the list of appointment types. If this API call is successful, it will then execute the setAppointmentTypes function, which modifies the XState context. Finally, the machine will transition to the question_page, which has the ability to look into the context and obtain the list of appointment types to be displayed.
With this implementation, we were able to accommodate unique page flows while still using generic, globally-applicable code. This gave us more flexibility with the architecture and eliminated the need for client-specific logic in our codebase.
Problem #2: Each page is similar, but slightly different in some ways
Despite our progress, there were a couple of pages that still needed to be incredibly customizable: the “screening questions” page, the landing page, and the demographics page. Different clients require different screening questions due to the demographics they serve.
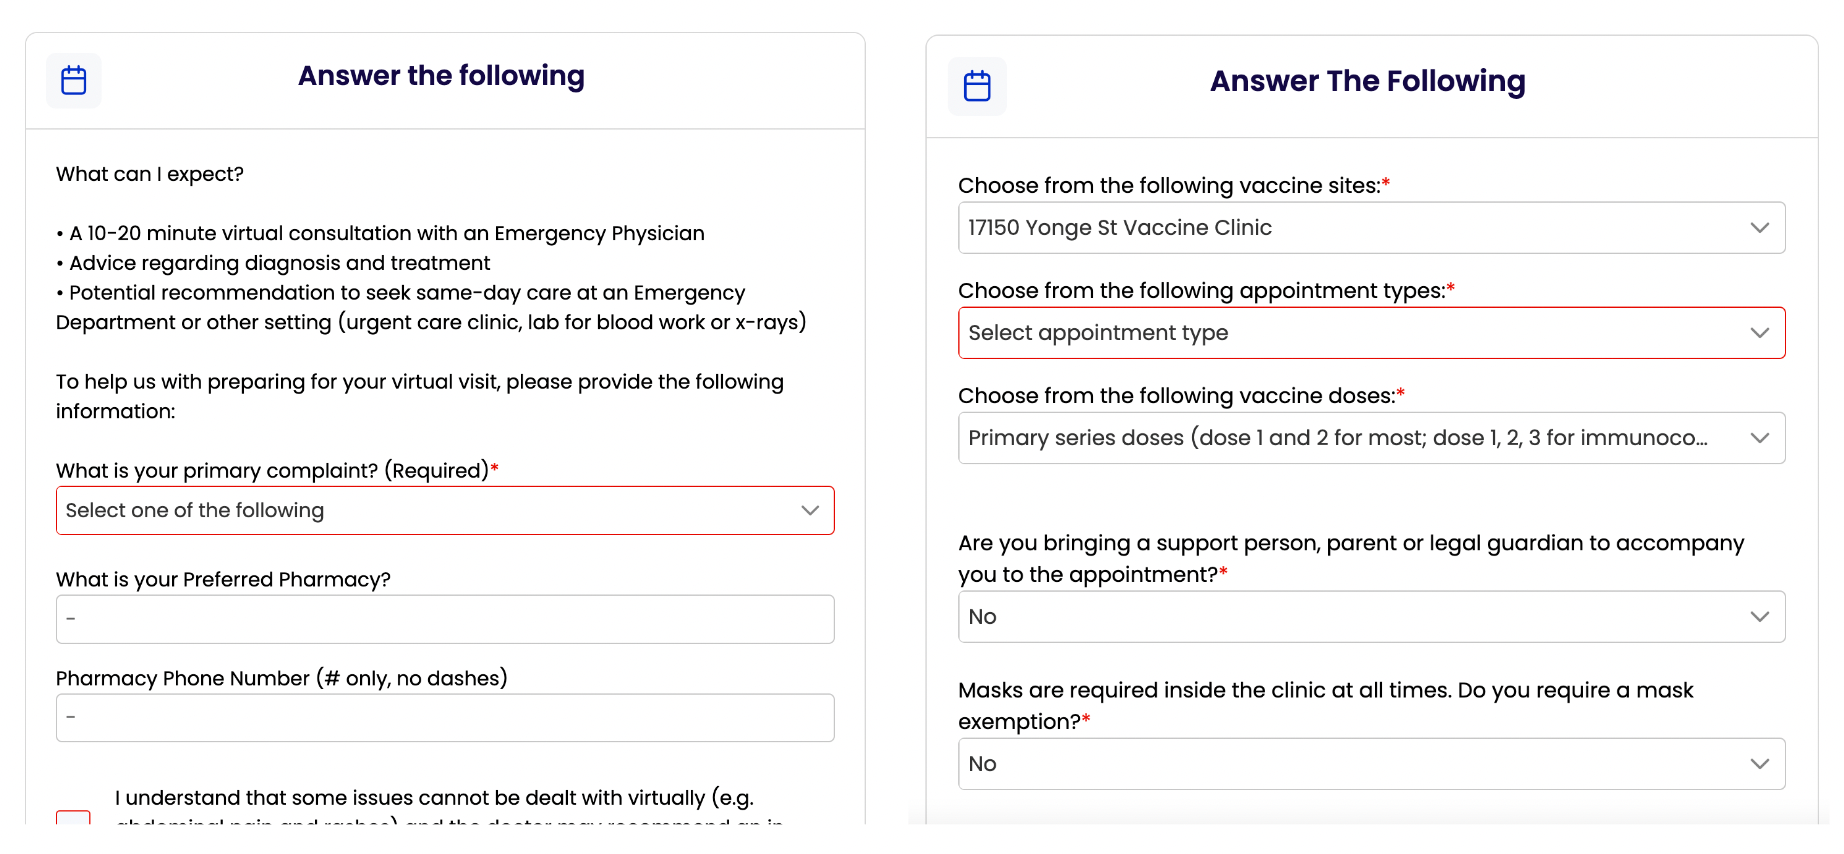
In this situation, we decided to utilize a well known concept - Server Driven UI. It allows us to modify components on the page using a configuration, instead of code. To allow for complete flexibility for the elements each client wants to be displayed, we implemented a set of commonly used components such as dropdowns, checkboxes and WYSIWYG paragraphs (which also cover pictures and formatted text).
[
  {
    "type": "input",
    "contextKey": "firstName",
    "props": {
      "label": "First Name:",
      "placeholder": "First Name",
      "required": true
    },
    "localizationKey": "confirm_appointment_page_input_0"
  },
  {
    "type": "input",
    "contextKey": "middleName",
    "props": {
      "label": "Middle Name:",
      "placeholder": "Middle Name"
    },
    "localizationKey": "confirm_appointment_page_input_1"
  },
  {
    "type": "input",
    "contextKey": "lastName",
    "props": {
      "label": "Last Name:",
      "placeholder": "Last Name",
      "required": true
    },
    "localizationKey": "confirm_appointment_page_input_2"
  }
]
With the above, the following will be rendered:

On top of that, we don’t sacrifice the customizability that we can achieve with code, such as rendering the calendar page. The calendar page is defined as a custom component that shows appointment availability for each day:
{
  "type": "custom",
  "customType": "slotAvailabilityDatePickerV2"
}
The real magic then happens when we combine both Server Driven UI and the Finite State Machine together.
FSM + SDUI = Highly customizable smart scheduling widgets
Now that we have introduced all the components of the Engage configuration, let’s bring it all together.
Each FSM state is associated with a single-page configuration. Although these are separate and decoupled concepts, we realized that keeping the FSM and page configurations together would be easier to maintain. This is because most of the time, the FSM config and the page config are required to be changed together.
One big thing to note is that, as a result of this redesign, our Developers are no longer required to fulfil content change requests from our clients. Since our superstar IT Support team (We’re hiring!) is familiar with our new Engage JSON format, they are able to directly modify the machine logic and page logic themselves. These new methods enabled Support to play a critical role in making the maintenance of our clients’ widgets a huge success. More details on how we built the tooling to allow the support team to achieve this will be left in a future blog post.
Get the Progress Bar for free
With any booking widget, it is always good from a user experience perspective that the user knows what their progress is so far in the booking experience. With a Finite State Machine, we pretty much get it for free, and with confidence, too. For the nerds, it is just a graph problem, which XState kindly provides helpers for - find the shortest path to the confirmation page. We had so much fun and pleasure doing this so we shouldn’t give spoilers - we’ll leave it as a task to the reader.
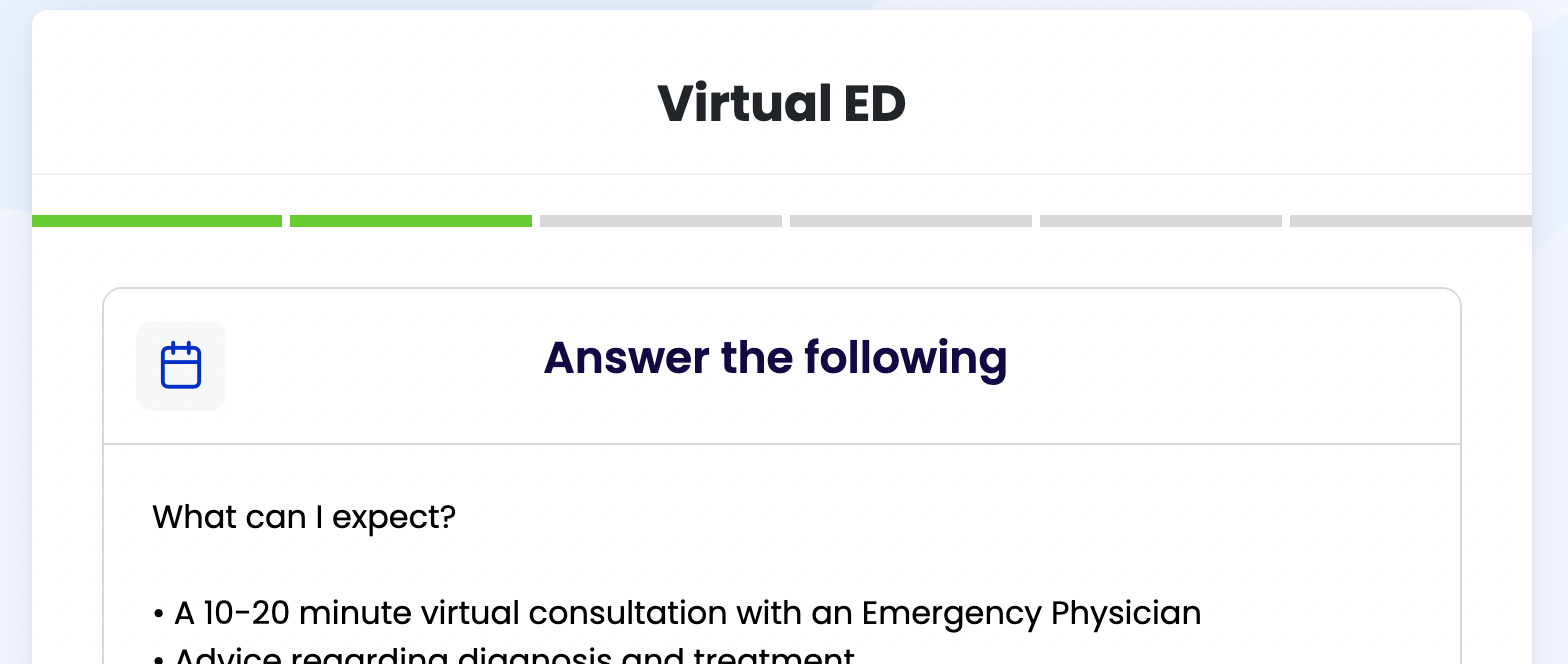
The user knows how many steps they are away from confirmation.
Conclusion
So, hopefully now you can see exactly how powerful the combination of Final State Machines and Server-Driven UI can be. Using our new and improved configuration method, we were able to deliver a substantially more scalable and flexible widget redesign in significantly less time than it previously took. With minimal effort, we went from the requirements gathering stage to Production deployment of dozens of fully customizable widgets in less than 48 hours.
Taking this a step further, our next goal will be to create a full self-serve Engage widget wizard. This wizard would empower implementers to choose a Golden Path widget and customize it to their own needs, with no Dev or Support intervention required. Truly high-value contained customization!
If you're interested in the problems we're solving and the things we do, check out Verto's Career Page.